So that your memories don’t get lost in the ephemeral world of social networks or end up forgotten in some hidden file on your computer or memory stick, here’s how to create a digital album.
.
Did you know that digital photography has changed the way we take and archive photos? We no longer reserve them for a special occasion, as we document every activity in our lives. From what we are eating, to the clothes we are wearing, to a beautiful spring sunset.
It’s almost a mechanical act, as mobile and tablet cameras are always at hand and offer very good quality resolutions. The problem is that most of these photos stay in the digital environment.
The problem is that most of these photos stay in the digital environment.How to create a photo book
.
Organize your photos
identifying each file and creating folders for each topic or chapter.
Folders.
Duplicate your images
.It is preferable to duplicate the images, keeping the original as a backup in case a problem arises. Compile in another directory the ones you will use so that they will be easier to find when you start with the design.
Select quantity
.The number will depend on the pages you want to create. As a general rule, between 1 and 5 photoss per page
.
Define your style
.When using a single image, you can place it a blood. That is without margins, or centered in the middle of the sheet. The latter alternative works very well with album formats and square photos.
.
Set your dimensions
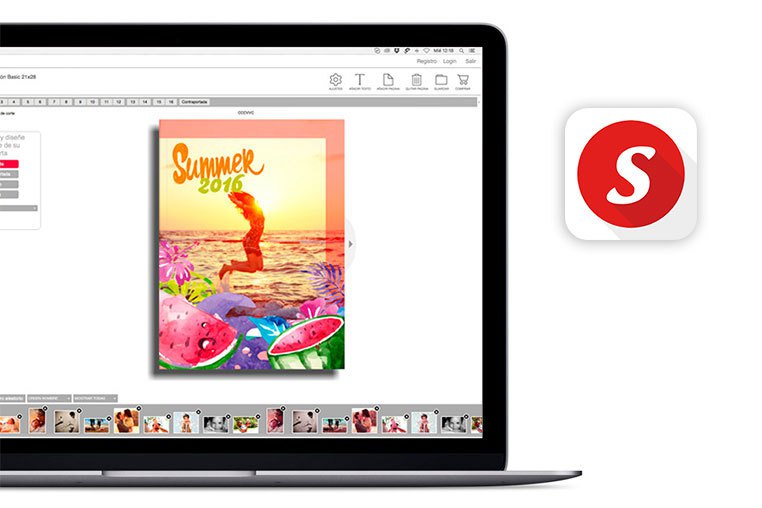
.Estimate that for an album of 20 pages you will need on average between 80 and 100 photographs. On internet you can find many applications that will allow you to create your photo album. Some of them have even been developed by the creators of the operating systems themselves. So, both Mac and Windows both have applications called Photos, which allow you to create and share your collections. These are not bad options, but their features are quite limited, not only in relation to page layout, but also in terms of finishes, formats and layers. It may work for travel books. But they would never be an alternative for a premium photo book, such as wedding albums, for example. You can also create your album from design software, such as Adobe InDesign, Adobe Photoshop or Publisher. But it requires certain skills in the use of the program and good notions of design, since the work will have to be done from scratch. On the other hand, the applications of the digital printing service providers have pre-designed templatesGet to work
.
Also, their software does not require advanced knowledge, because they are very intuitive.
Set the configuration
.From the moment you create your digital album it’s a good idea to set it up for printing, even if you’re not sure you want to do it now.
When you create your digital album it’s a good idea to set it up for printing.
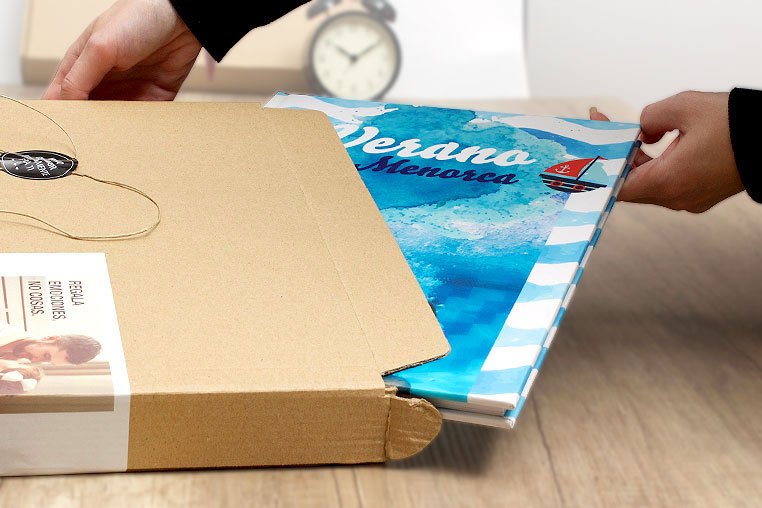
While digital collections allow you to neatly view your photos and add text and effects to them, one of the main advantages of digital albums is that they can be taken to paper very easily.
Experience tells us that computer photos almost always end up forgotten. Nothing compares to the pleasurable experience of spending an afternoon looking through family photo albums.
That said we recommend that you select a glossy finish for your photos if you want the full richness of color of the digital image. On the other hand, use mate if you want your photos to be less sensitive to fingerprints and scratches.
Whether you’ve used a template or created your own custom album, once you’ve laid out the images you can test varying the orientation of the photos and adding effects, such as frames or backgrounds.
You will get a more professional and dynamic result. But remember that all these games with the image must be in harmony with the template used and the kind of album you are creating.
A travel album is not the same as a wedding album and although you can be very creative in both, their styles are usually very different.
Don’t forget to check
.When you finalize the design take your time to calmly review each picture. Sometimes we discover that a photo is poorly framed or has some shadows that we had overlooked and detract from the image.
It’s a good idea to do a preview of the project before finalizing it.
What should the photographs in a photo book look like?
.You can create your photo book with photos taken with your mobile, tablet or camera, or with scanned paper photos, but whatever device you use, make sure you set it up to get good quality images.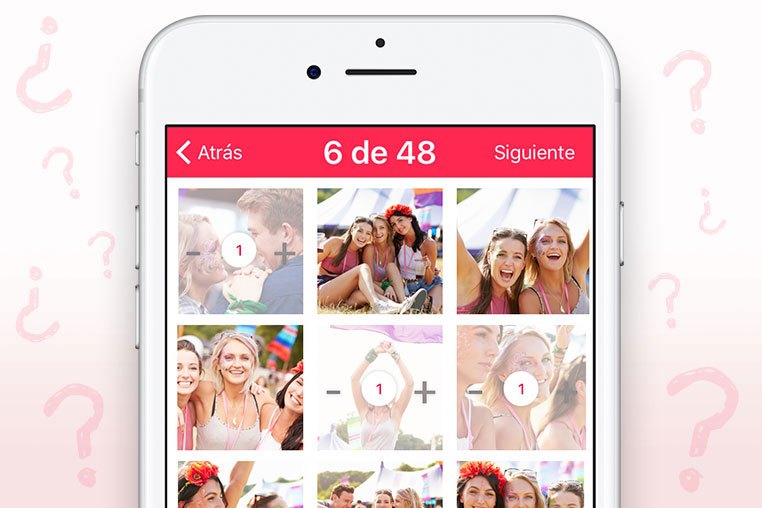
What is the right resolution
?It is important that your photos have a good resolution. So that there are no problems when you print your photo book.
The minimum resolution should be 180 dpi, although sometimes, if the image is small, you could work with 150 dpi.
The minimum resolution should be 180 dpi, although sometimes, if the image is small, you could work with 150 dpi.
But if you can take your photos at 300 dpi you will be able to enlarge it to the size you need and work more comfortably. This resolution allows the image to be reproduced with total sharpness.

If you want to calculate what is the maximum size that your printed photo can have, without losing quality, you can apply this simple formula:
Photo size on paper (cm) = photo dimensions * 2.54 / resolution (dpi)
Picture size on paper (cm) = photo dimensions * 2.54 / resolution (dpi)
<pSuppose you have a 1080×810 photo. You would multiply each of those values by 2.54^. (conversion value of an inch into centimeters) and divide by the output resolution. (pixels or dots per inch, which can be expressed as dpi. Or dpi, if you use the abbreviation of its name in English: dots per inch):
.1080 x 2,54 = 2743,2 / 300 = 9,144 cm
810 x 2.54 = 2057.4 / 300 = 6.858
That is, for a 300 dpi print, the image should measure 9.14 x 6.85 cm. But if we reduce the print resolution to 150 dpi, the image could measure up to 18.28 x 13.71 cm:
.
1080 x 2.54= / 150 = 18.28
810 x 2,54= / 150 =13,71
The dimensions of your photographs are determined by the number of megapixels in your camera. As well as by the way you have it set up.
As a guideline, with a 2 megapixel camera you can print quality photos up to 13.2 x 10.2 cm. With an 8-megapixel one, you can go up to 27.6 x 20.7 cm. And a 24-megapixel one will allow you to zoom in up to 50.9 x 34 cm.
<pCheck out our offers for developing photos online
Which photo format to use
?The format in which you have saved your photos can also affect the print quality. Usually work with jpeg, which offers a good balance between image quality and file weight.
But if you don’t want to sacrifice any resolution or you’re going to use the photos for professional prints, use the tiff format. Without compression. Let me explain, the tiff format preserves every single pixel of the image, that’s why it is said to be a lossless format.
Jpeg, on the other hand, is a lossy format. Since it works with an algorithm that tracks each line of pixels and suppresses some, in order to lighten the weight of the image.
As a result, the next time you open your file, some pixels will have been deleted.
Another factor to take into account is the output color system. Generally printers work with CMYK (cyan, magenta, yellow and black), the same colors that are used in traditional printers. Some cameras, by default, save images in RGB format. This is the image output format of computers and televisions.
RGB.
If you have your picture in RGB, you should change the color mode to CMYK. With this you ensure that the print colors match what you see on your computer or camera.
In Snappybook this RGB to CMYK conversion is done automatically so you won’t have to worry about this aspect.
A little tweaking can make a big difference
.Even if you are not an expert in digital photo retouching, with the tools of free image editing software you can fix some bugs very easily.
Among other things these programs allow you to reframe the photos, correct flash effects, such as highlights or red-eye, flip the images, etc. Some of the most popular free photo editors are: Pixlr, Fotor, Polarr, Photoshop Express and many more.
.
The importance of a good paper
.If you are going to print your photo album, it is recommended that you choose a photographic paper or a heavyweight coated paper. This will allow you to highlight your images and achieve a better finish. This type of paper is normally used in photography books professional because it offers a better color definition.
Bring your photo book to paper
.Following the recommendations we have given you, you are ready to print your digital album. There are many alternatives on the market. But Snappybook stands out because of the variety of formats and the simplicity of use of its software.
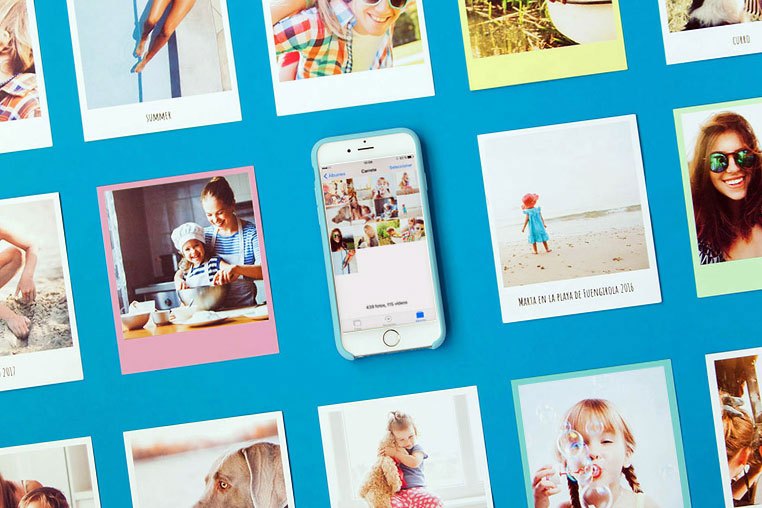
You can make your album online or download the application, available for both Windows and Mac. There’s even a possibility to make small photo albums directly from your mobile.
It also has a wide variety of templates that will allow you to create your photo book quickly and without complications. Once you have loaded the selected images, the program will take care of placing them and you will only have to review and adjust the ones you consider necessary.
When you have finished the process you can send them the file. In a few days you will have your printed photo book in your hands.