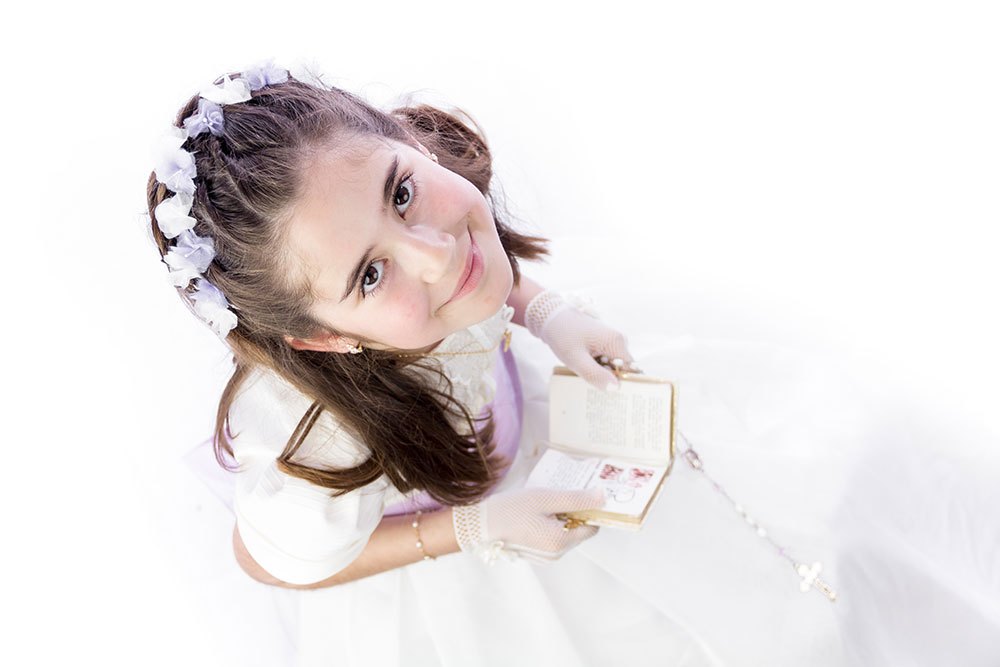
Photography, like everything in this life, has its tricks. If we focus exclusively on the reportage of Communion, where the model is a child, these tips are more specific.
Whether you have an SLR, compact or smartphone camera, if you are a photography enthusiast who likes to learn and you have an upcoming event, this help can be very useful for you.
Avoid shooting indoors if you want good results
.Do you want to shoot good pictures indoors? Well without proper equipment and extensive knowledge in lighting it is very difficult to get good results, so we recommend you to look for nice exteriors.
If on the other hand you control the spotlights, the light meter, you understand shutter … congratulations, you’re not as much of a beginner as you thought you were!
If you’re not as much of a beginner as you thought!
Outdoor photography just got easier!!!
As much as possible, avoid the hours when the sun is at its highest (midday). The light is stronger and causes very strong shadows. The best time is in the morning (not too late), but the sunset is not a bad time either, although the model will be more tired and there will be more people to hinder your work.
Have fun playing with framing
.There are different frames in photography. Do not limit yourself to always do the same and alternate between vertical or horizontal arrangement that will give you more play when designing a photo album, choose several to print copies, create a canvas to decorate your home …
.
Principal shots in photography
.There are a multitude of possible shots, but the most used for this type of reportage are:
– General shot (We see the whole body. Ideal for placing the model in a background that enhances the photo).
– American shot (From the head to the hands. Less background and more prominence of the model).
– Medium shot (we see from the head to the chest, ideal for portrait).
– Medium shot (we see from the head to the chest, ideal for portrait).
<pLearn day by day, experiment!
.
You don’t always have to center the main character (try placing him or her on either side of the set or decorative elements).
<pWhen taking portraits, set the camera height to the trunk of the model (they are smaller than us so you will have to crouch down to avoid distorting the image).
When taking portraits, set the camera height to the trunk of the model (they are smaller than us so you will have to crouch down to avoid distorting the image).
<pDon’t do the final framing with the camera! You can leave a little more image on the sides of your composition and then you will have more material for a more thoughtful editing (you can try different framing, enlarge specific areas…)
Don’t do the final framing with the camera…
Don’t do the final framing with the camera!
Get the most out of your camera’s zoom
.If you zoom in with the lens of an SLR camera you will get spectacular portraits (the model’s face will be in the foreground and the background will be out of focus). You can also simulate this technique by physically getting closer to the model. But if you zoom with a cell phone, it will most likely be digital and you will lose a lot of quality, avoid using it as much as possible.